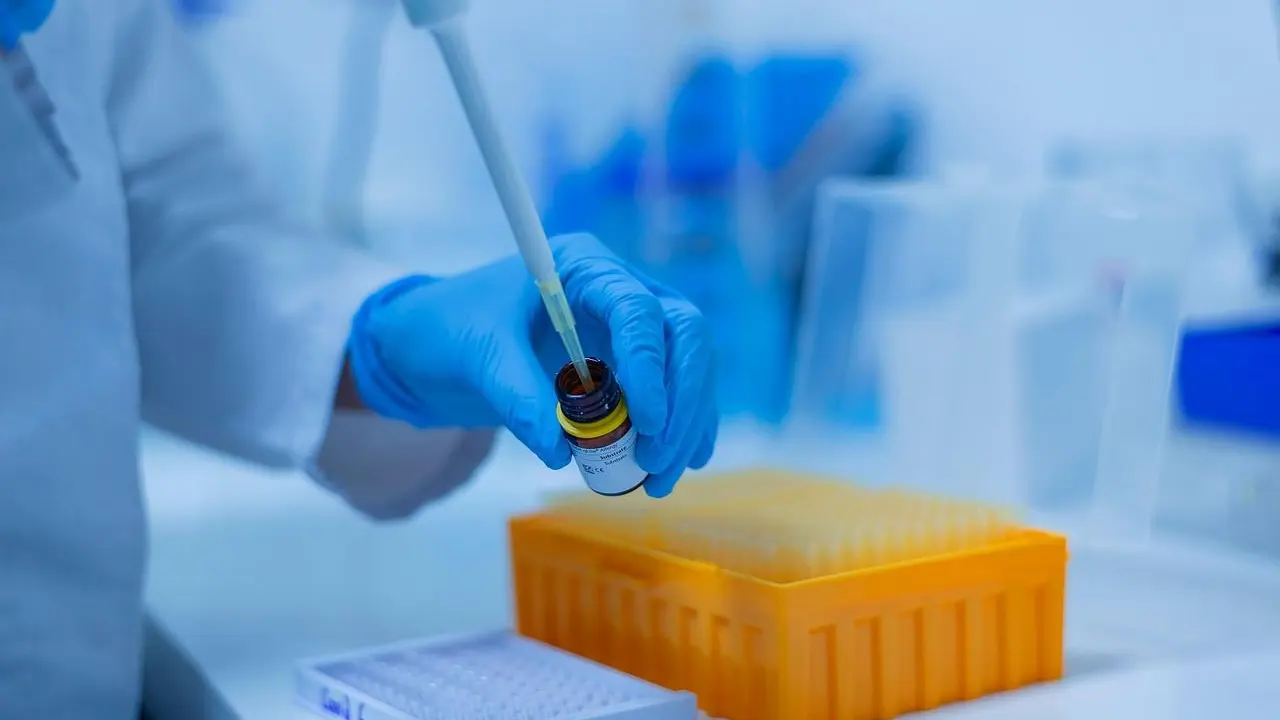
Wobbly replicates and drifting standard curves often trace back to your hands, not your reagents. Good pipetting techniques come down to the right pipette range, a snug tip, steady rhythm and the correct mode for your liquid.
This guide is part of our wider lab skills series for people building a career in the life sciences.
| Item | Value |
|---|---|
| Smallest sensible target volume | Above 30% of the pipette’s nominal volume |
| Pre-wetting cycles recommended | At least 5 aspirate-and-dispense cycles |
| Maximum immersion angle | 10 degrees from vertical |
| Temperature effect on volume | Up to 0.3% per kelvin |
| Deviation from poor tip fit | Up to 50% |
| Deviation from not wiping the tip | Up to 3% |
The figures come from a manufacturer’s guide, BRANDTECH’s pipetting guide, which cites ISO 8655. They can change, so check the source and your pipette’s manual before you rely on them.
Why technique matters
A calibrated pipette only gives accurate volumes if the person holding it is consistent. Small habits, such as how fast you release the plunger or how deep you dip the tip, add up across a whole plate of samples.
The guide above notes that, according to ISO 8655 standards, improper tip fit alone can contribute to deviations of up to 50%. That is larger than most people expect from a single habit.
Treat pipetting as a skill you practise and record, not something you pick up once. If you keep a good record of your volumes and any odd results, lab notebook best practices will help you trace a problem back to a technique slip.
Choose the right pipette and tip
Accuracy starts before you touch a liquid. Pick a pipette whose range suits your target volume, and fit the tip properly.
- Use the upper part of the range. For the highest precision the guide advises using the upper volume range of a pipette.
- Switch to a smaller pipette when needed. If your target falls below 30% of the nominal volume, move to a smaller variant.
- Check the tip fit. A tip that is not seated firmly can leak and under-deliver.
- Match the tip to the pipette. The guide recommends original tips from the pipette manufacturer for the best fit.
Seat the tip securely; to check for leakage, first aspirate water and observe whether a drip forms.
Prepare: temperature and pre-wetting
Air inside the tip expands and contracts with temperature. When the pipette, tip and liquid differ in temperature, the delivered volume shifts.
According to the guide, ISO 8655 puts temperature-related inaccuracy at up to 0.3% per kelvin. Temperature equilibrium can take roughly 2 hours, so plan ahead when you can, for example by taking cold reagents out early.
If you cannot wait, the guide suggests not saturating the air cushion and changing the tip after each dispensed volume.
Pre-wetting saturates the air in the tip with vapour from the liquid, which reduces evaporation during the draw. The guide advises aspirating and dispensing the liquid at least 5 times before the real transfer. Other vendors suggest fewer cycles, so follow your lab’s protocol if it sets a number.
Aspirate and dispense step by step
Once the tip is on and pre-wetted, a steady routine does most of the work.
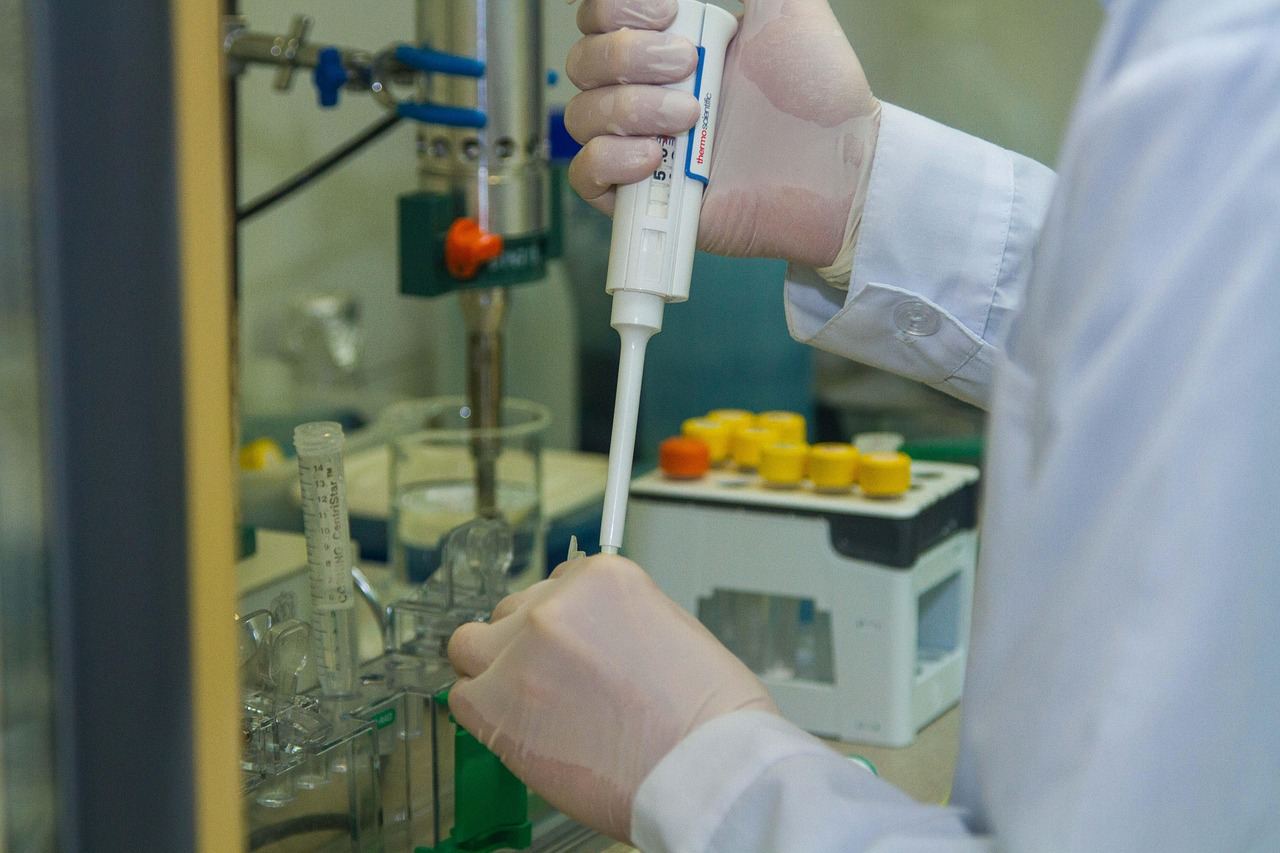
- Hold the pipette vertically, with an immersion angle of at most 10 degrees.
- Before immersing the tip, press to the first stop for forward pipetting or the second stop for reverse pipetting.
- Dip the tip to the depth your pipette’s manual recommends, then release smoothly and keep it submerged during the draw.
- Pause before withdrawing: the guide says 1 second for volumes up to 1000 µL and 3 seconds above 1000 µL, so the liquid fully enters the tip.
- Touch the tip to the vessel wall while dispensing, which helps the whole volume leave the tip.
The guide adds that not wiping the tip correctly can cause deviations of up to 3%. Wall contact is especially useful for viscous samples, where liquid clings to the plastic.
Forward or reverse pipetting?
Forward pipetting is the default. The guide says it is best for standard aqueous solutions, so most buffers and dilute reagents belong here.
Reverse pipetting suits trickier liquids. The guide recommends it for foaming, volatile or viscous liquids, because it improves precision and minimises bubbles.
- Aqueous buffers and standard solutions: forward mode.
- Viscous liquids such as glycerol mixes: reverse mode, with the tip touched to the vessel wall on delivery.
- Volatile liquids such as organic solvents: reverse mode, with careful pre-wetting.
- Foaming liquids such as protein or detergent solutions: reverse mode to limit bubbles.
In practice, the choice is about what stays behind in the tip. Forward mode blows out the last drop to empty the tip, which suits thin liquids. Reverse mode draws up extra liquid and leaves that excess in the tip after dispensing, so thick or foamy samples are not pushed out with air bubbles.
Choose the mode appropriate to each liquid and use it consistently for comparable transfers. Mixing modes between samples and standards is an easy way to create a systematic offset that looks like a real biological difference.
If a result looks off, test both modes with a balance and water before changing your whole protocol. Write the outcome up clearly, since methods sections are where this detail ends up, and scientific writing skills help you describe it so others can repeat it.
Common mistakes to avoid
- Working below the sensible range. Dispensing tiny volumes with a large pipette, under 30% of nominal volume.
- Loose tips. Skipping the check for a firm seat.
- Rushing the plunger. Inconsistent speed changes how much liquid enters the tip.
- Angled tips. Tilting beyond 10 degrees during aspiration.
- Skipping pre-wetting. This matters most with volatile liquids.
- Using cold liquid with a warm pipette. Air expansion shifts the volume.
Fix one habit at a time, and check your progress by weighing dispensed water on an analytical balance.
Building the habit in a real lab
Technique improves fastest when you test it. Dispense water onto an analytical balance, record the weights, and look at how tightly they cluster. A wide spread may indicate inconsistent technique, equipment problems or variation in weighing conditions.
Ask a more experienced colleague to watch you pipette once. Small things, such as a drifting angle, a thumb that speeds up on release, or a tip that is never quite seated, are easier to spot from outside.
Keep a short checklist at your bench until the routine is automatic:
- Is the pipette range right for this volume?
- Is the tip firmly seated and the correct type?
- Have the liquid, tip and pipette reached the same temperature?
- Is forward or reverse mode the better fit for this liquid?
- Have I pre-wetted, and will I use the same rhythm for every sample?
Careful, repeatable technique is also a visible career skill. Consistent pipetting technique contributes to reliable measurements.
Frequently asked questions
How many times should I pre-wet a tip?
Show answer
BRANDTECH’s guide advises at least 5 aspirate-and-dispense cycles. Some other vendors suggest fewer, so follow your lab’s SOP if it states a number.
When should I use reverse pipetting?
Show answer
The guide recommends it for foaming, volatile or viscous liquids. For ordinary aqueous solutions it recommends forward pipetting.
Does temperature really change my volumes?
Show answer
Yes. The guide cites ISO 8655 for inaccuracies of up to 0.3% per kelvin when pipette, tip and liquid differ in temperature.
Why use the upper range of a pipette?
Show answer
Precision is highest there. If your target is below 30% of the nominal volume, the guide says to switch to a smaller pipette.